Ping Pong Table
For my semester long project I decided to build a ping pong table, paddles, and paddle holder. I have loved to play ping pong sense I was young but never got to play often because we didn't have one. When the semester project came up I put it down as one of my ten ideas and ultimately decided that was the one I wanted to do. I started the holder first then did everything else at the same time. This worked well and when I went into school I worked on my paddles and at home I worked on the table.

Ping pong paddle holder
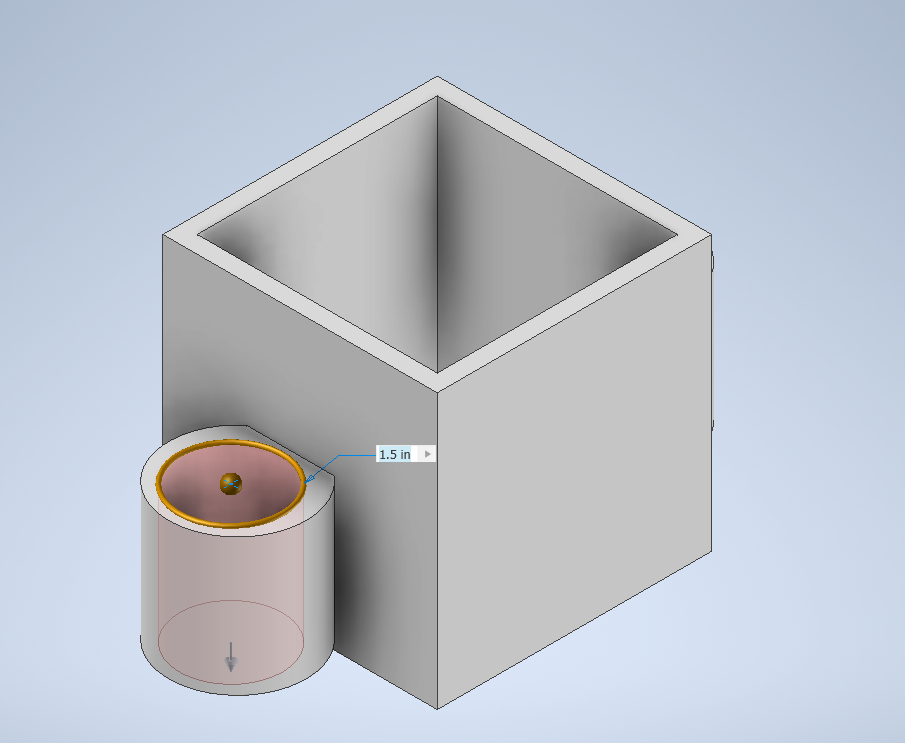
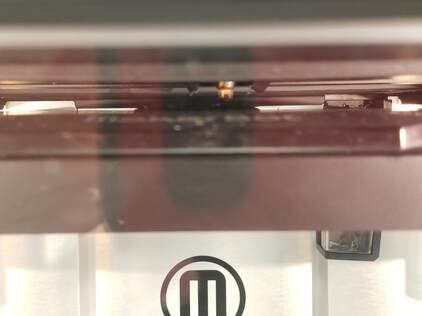
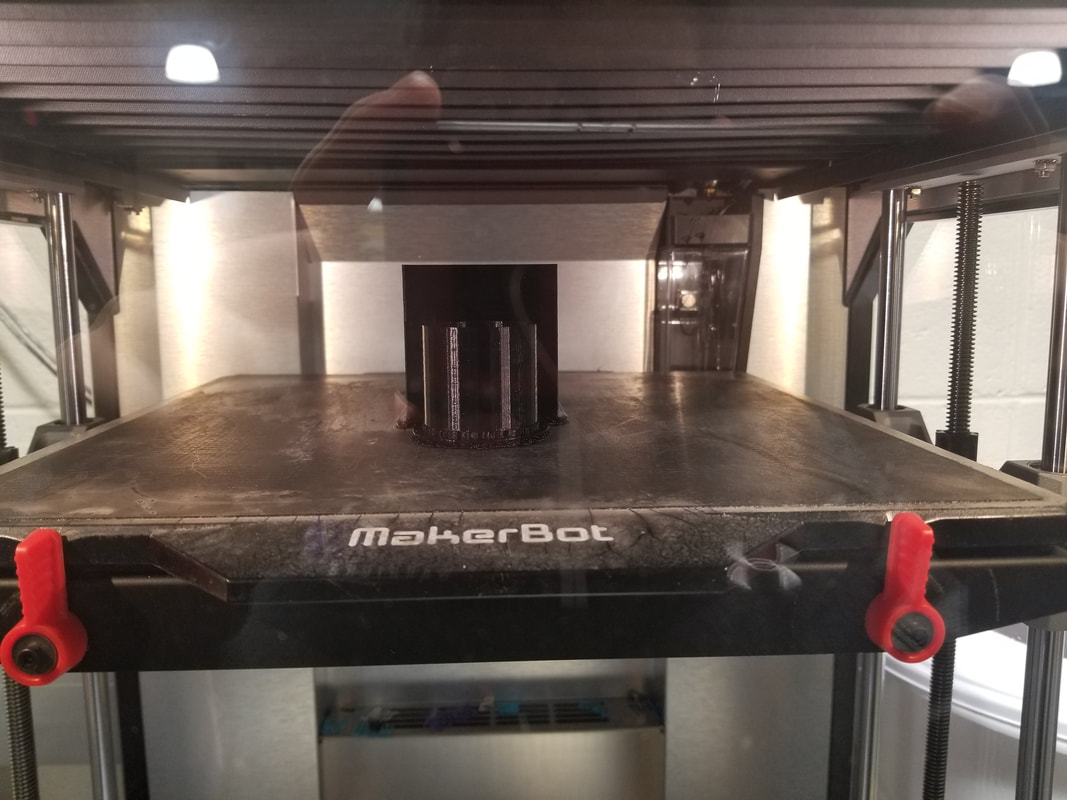
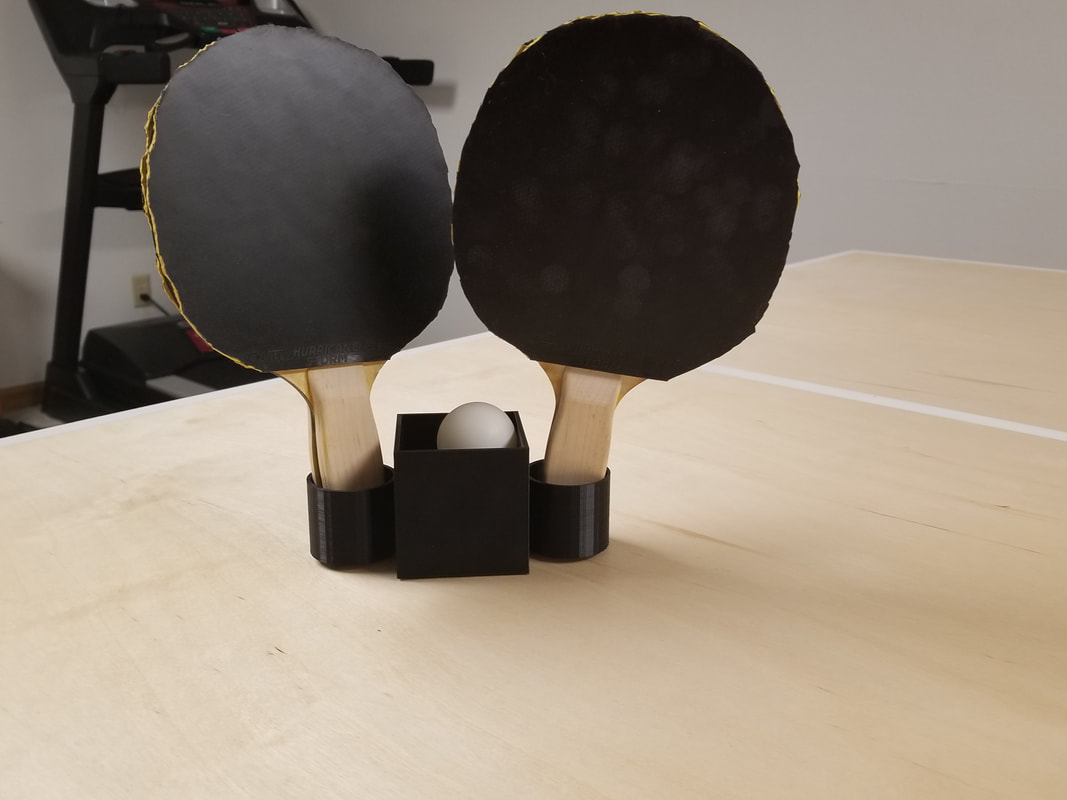
The first thing I did was create the ping pong paddle holder. I decided to add space for a couple of ping pong balls to fit. I create a cube than cut a hole through the top. This would hold the ping pong balls. I than added cylinders to the side with a hole going though them for the ping pong paddles, I made them 1.5in wide because my ping pong paddles were just smaller than that. I was then able to go ahead and 3-D print it and turned out well and the black color looks good.

|
|
Ping Pong Paddles
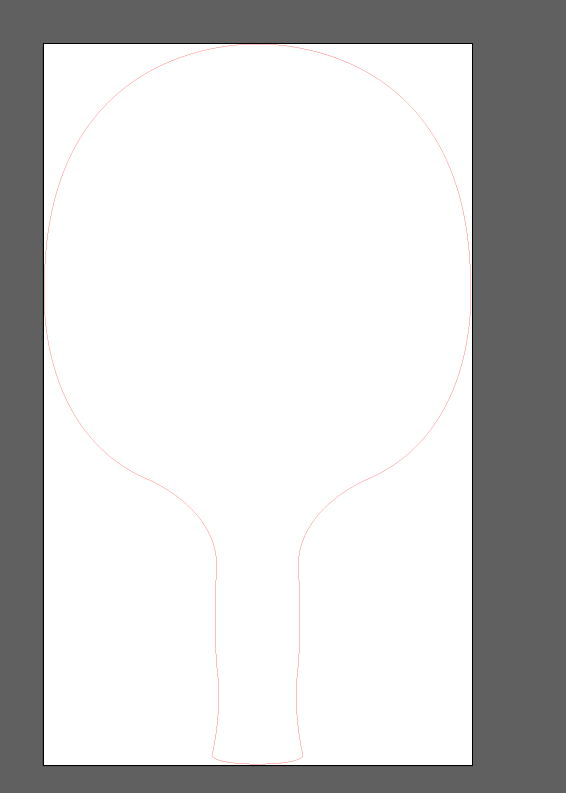
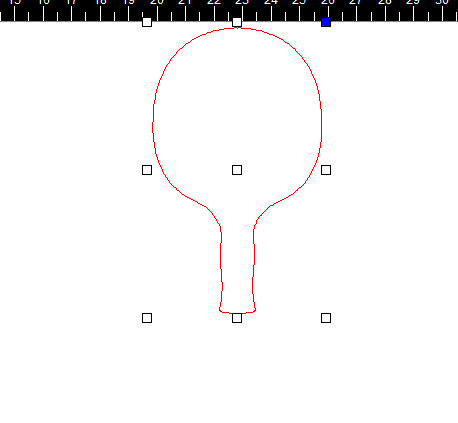
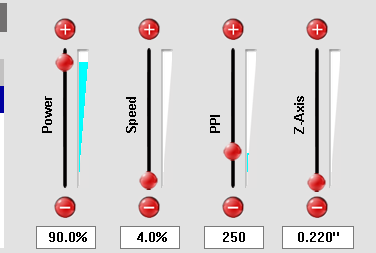
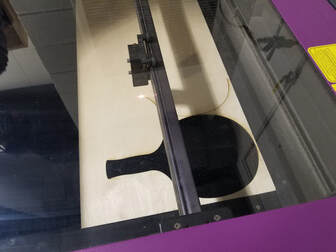
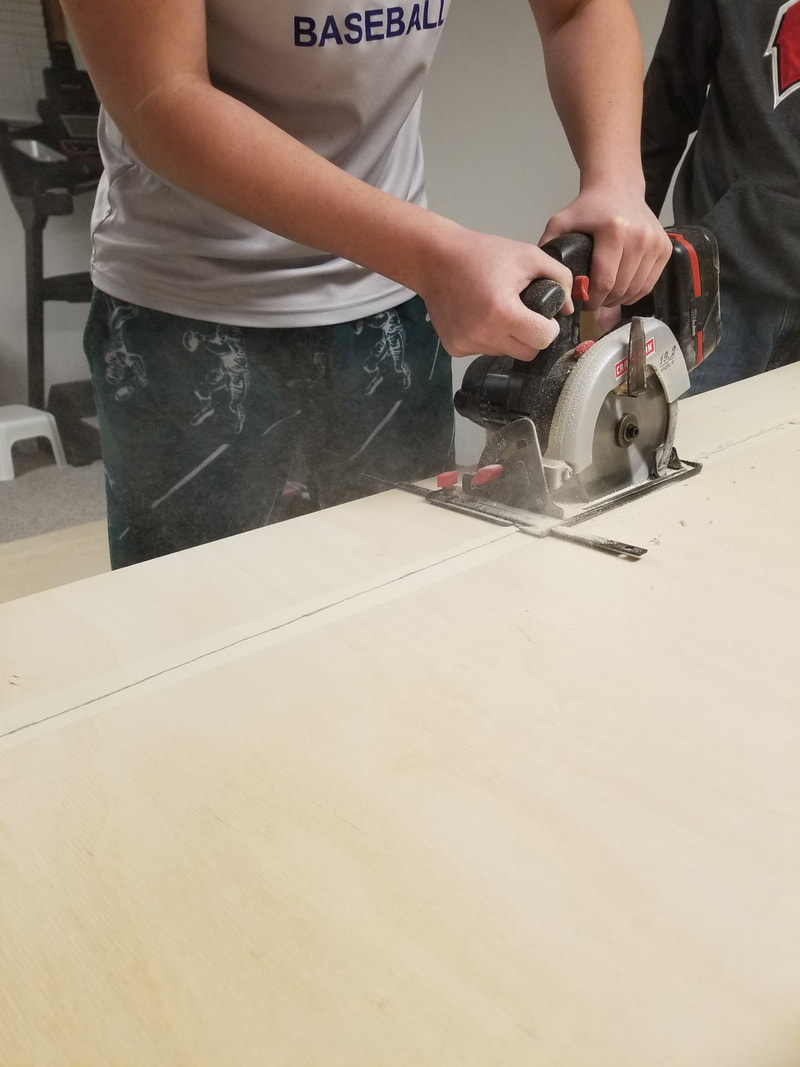
The next task was creating the table and ping pong paddles. I first did the paddles. I used 1/4in Baltic birch plywood. I laser cut the paddles and were fairly simple. I first put them into illustrator then was able to lase cut them all in one day. I changed acouple of the settings to help make a cleaner cut.
|
|
|
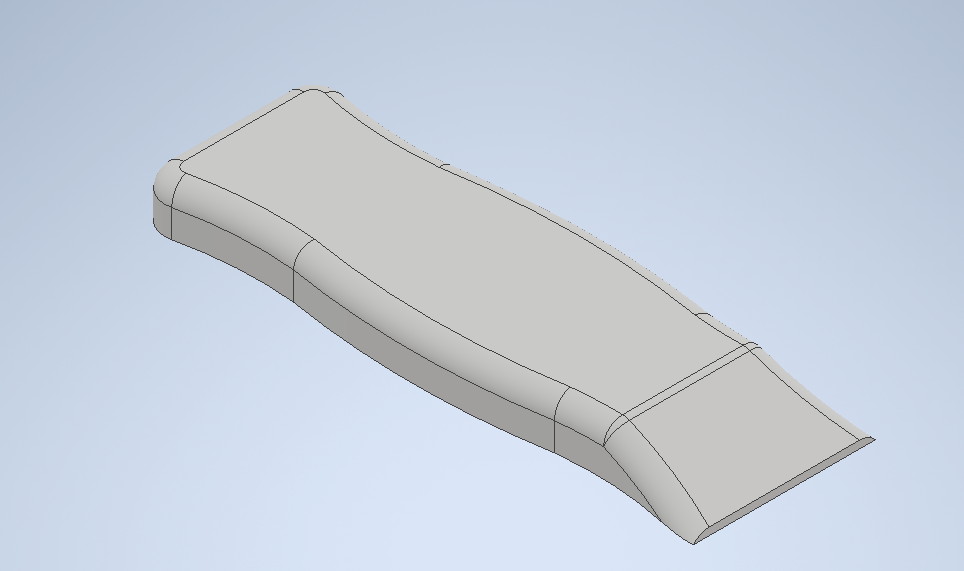
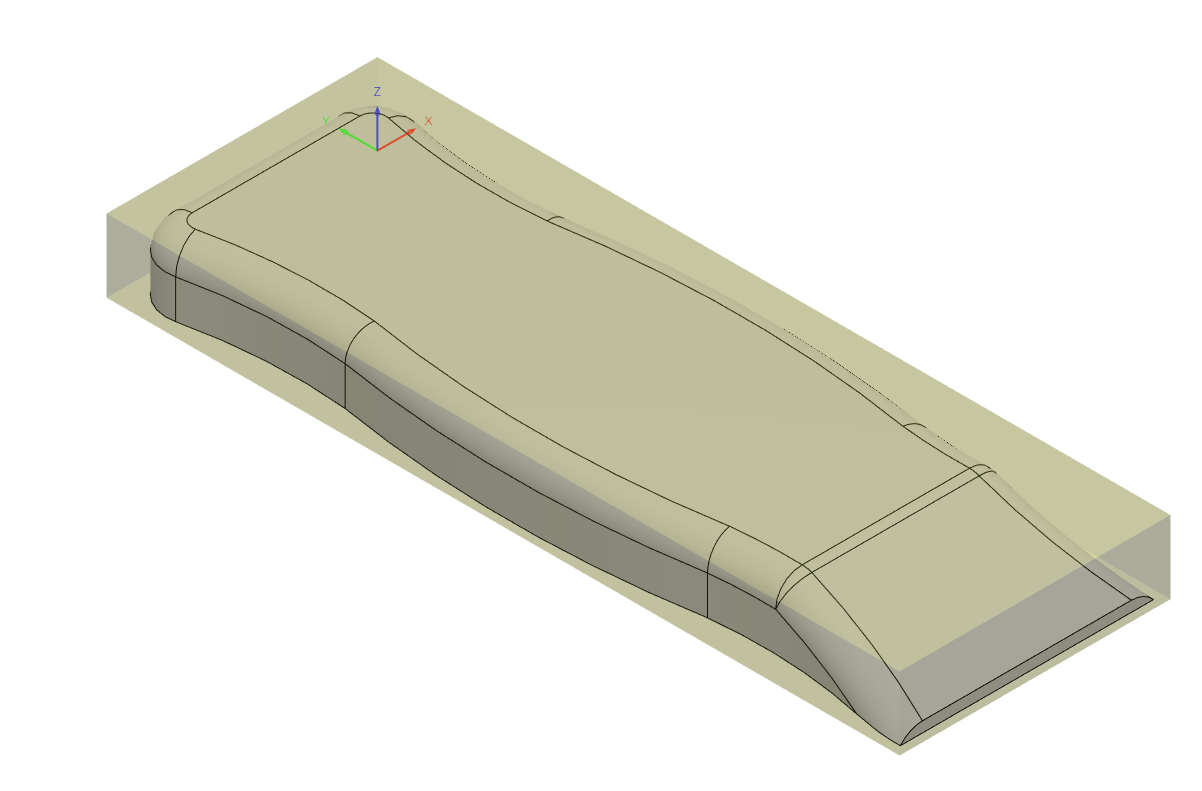
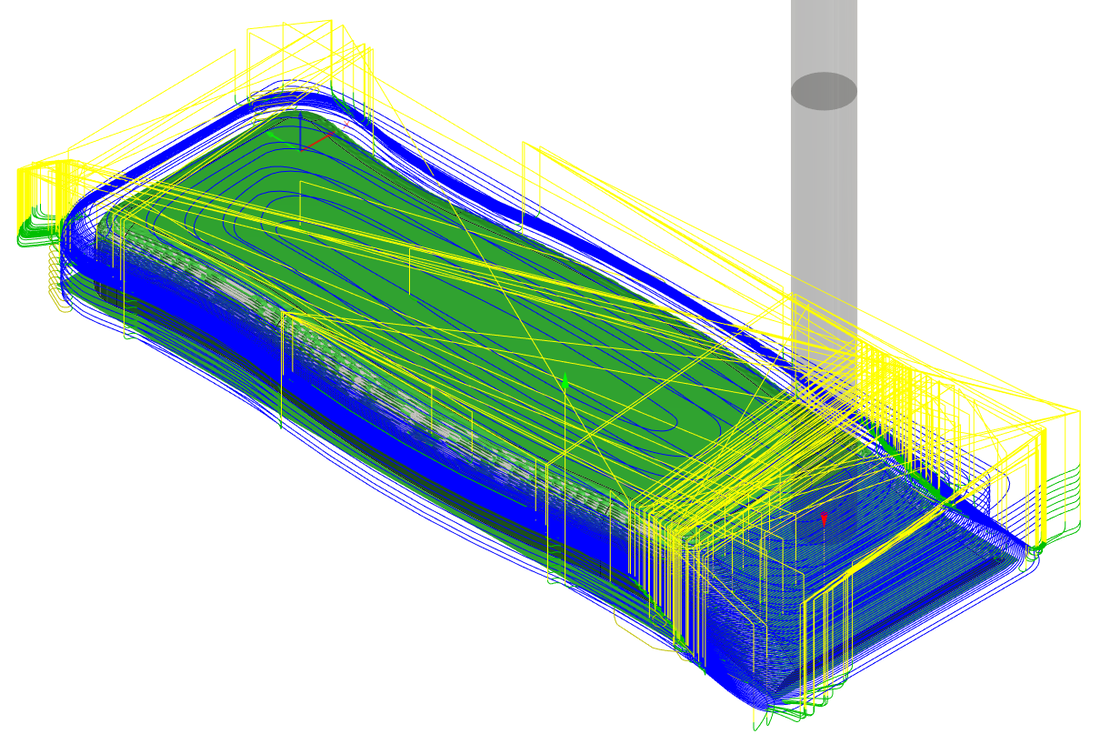
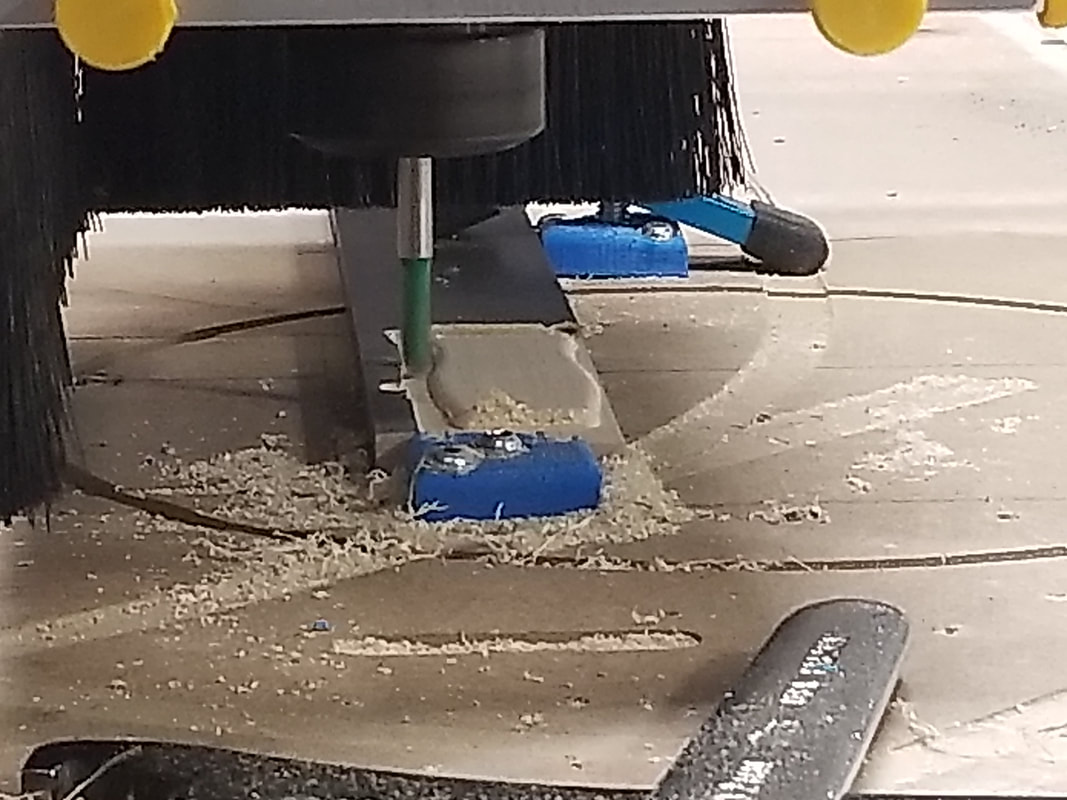
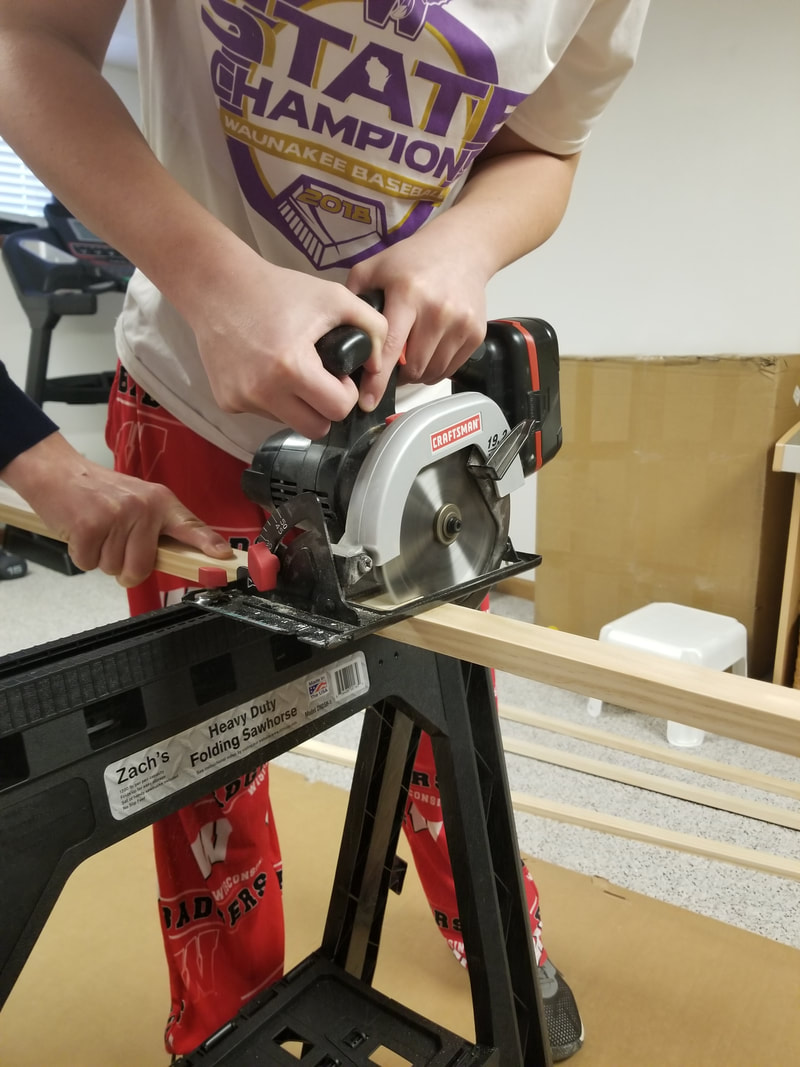
Ping Pong Handles
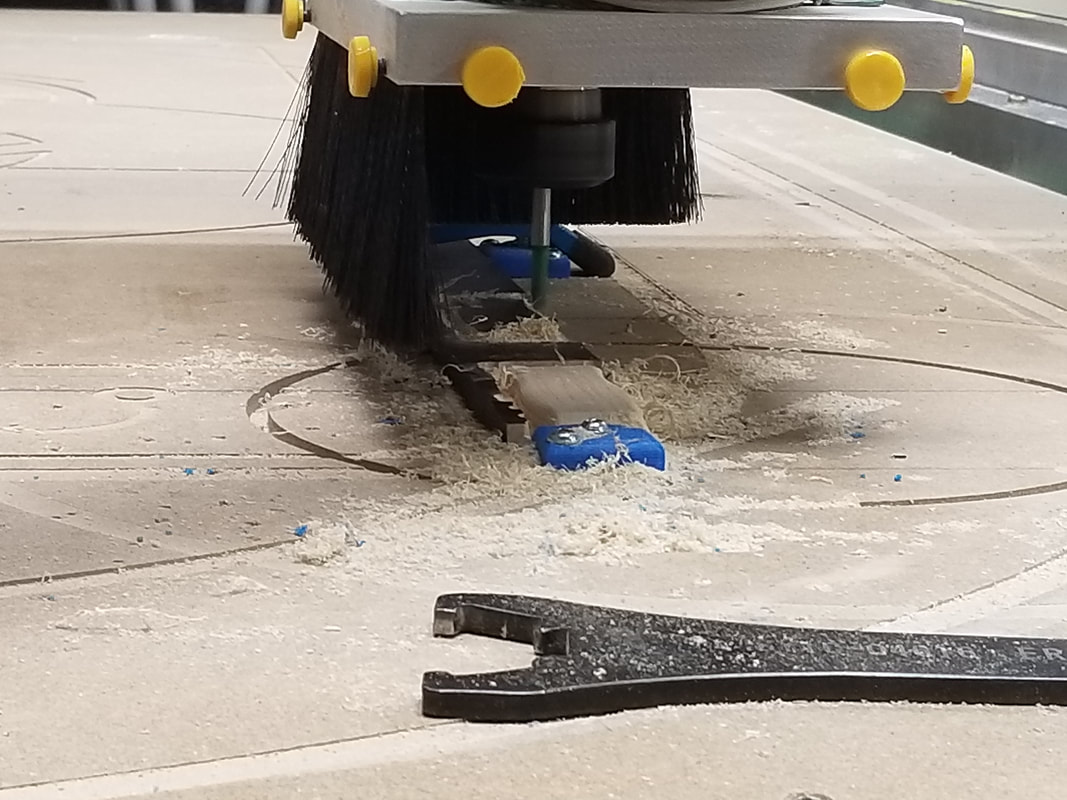
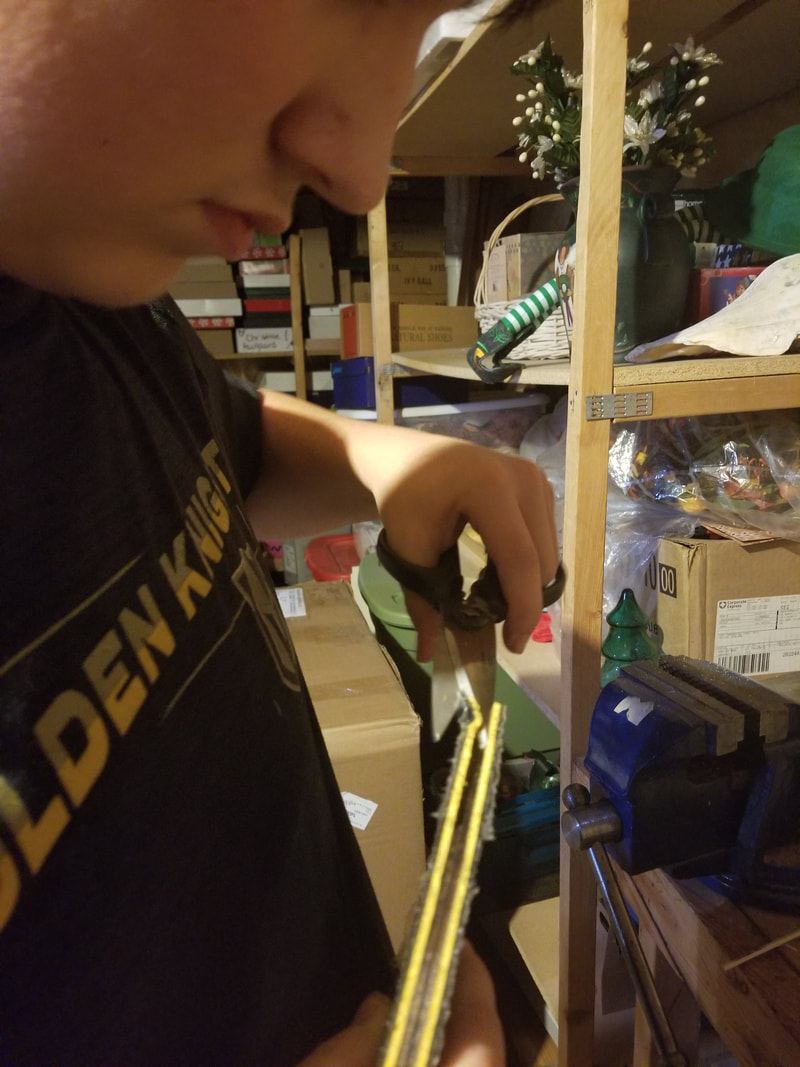
After I had the paddles I need handles for them and they were challenging. I first designed it in investor and that went fine. But I then have to use fusion 360 to rout them. I had never used fusion 360 before so this was my first time. After some help and we got the tool path right and was able to start routing. This took some time and failed multiple times. The wood I was using kept breaking away and would wouldn't work. I eventually got the four that I needed.
|
|
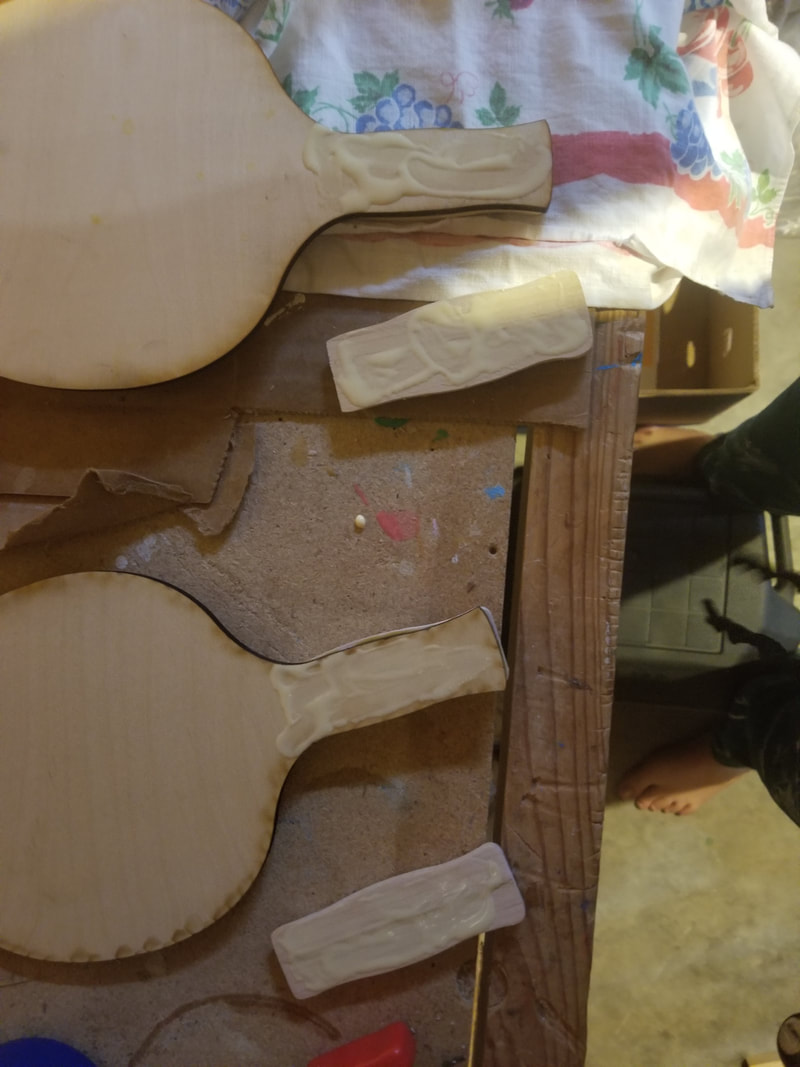
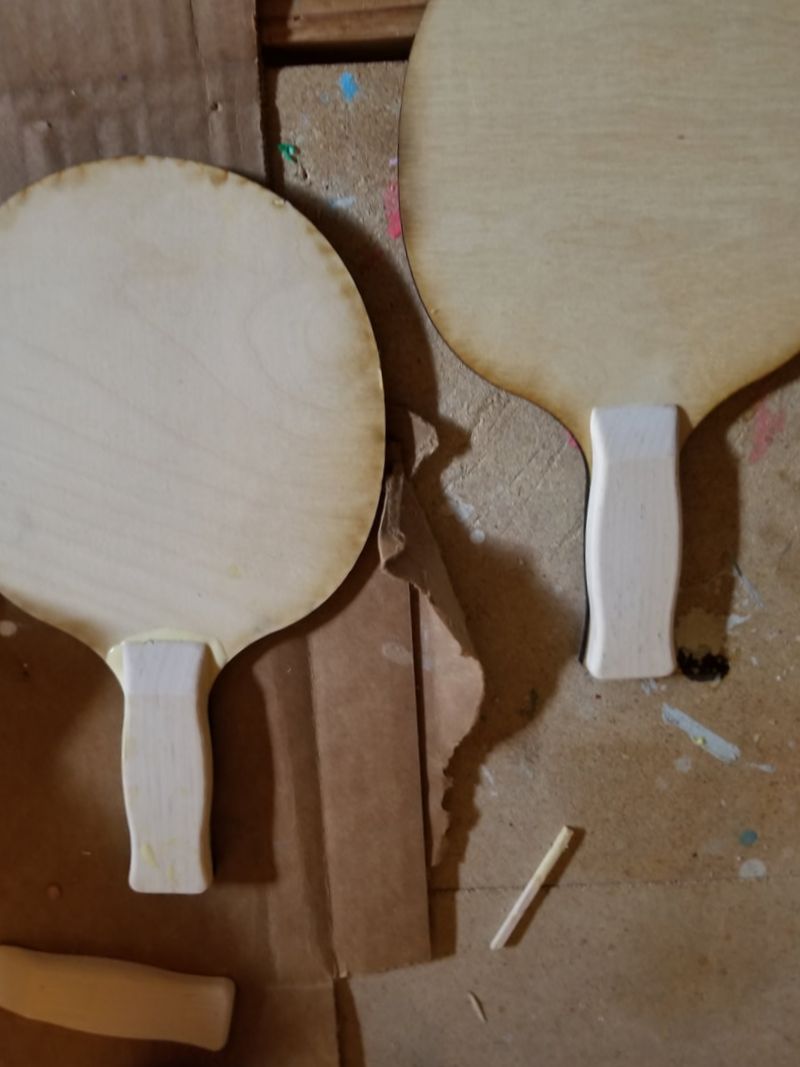
Putting the Paddles together
After I had the paddles and handles to was time to put them together. I used wood glue to put the paddles on. The handles fit the paddle very well. After some sanding All they needed were some rubber and they were done.
|
|
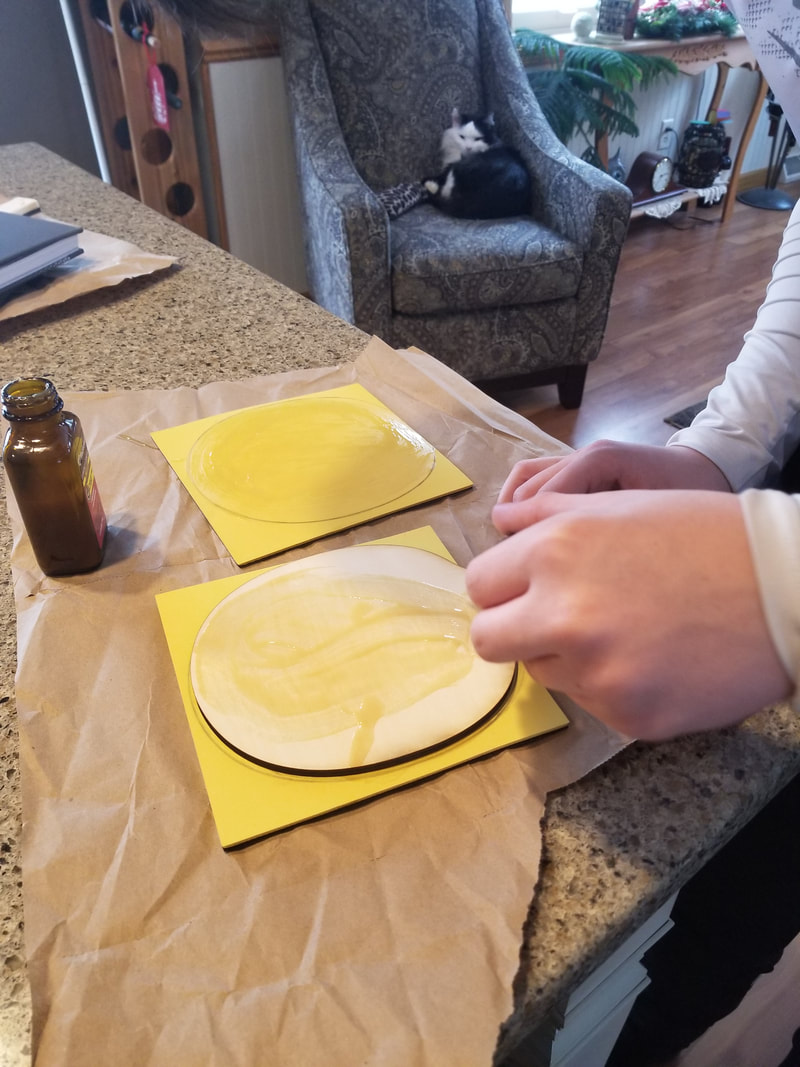
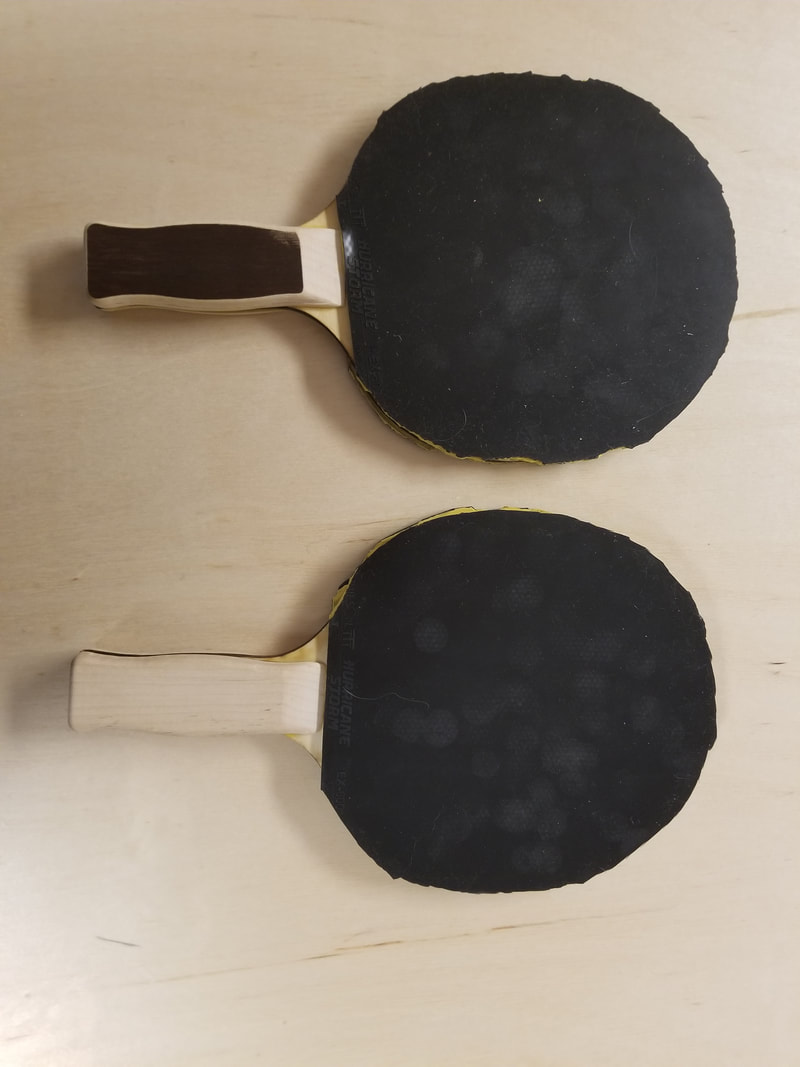
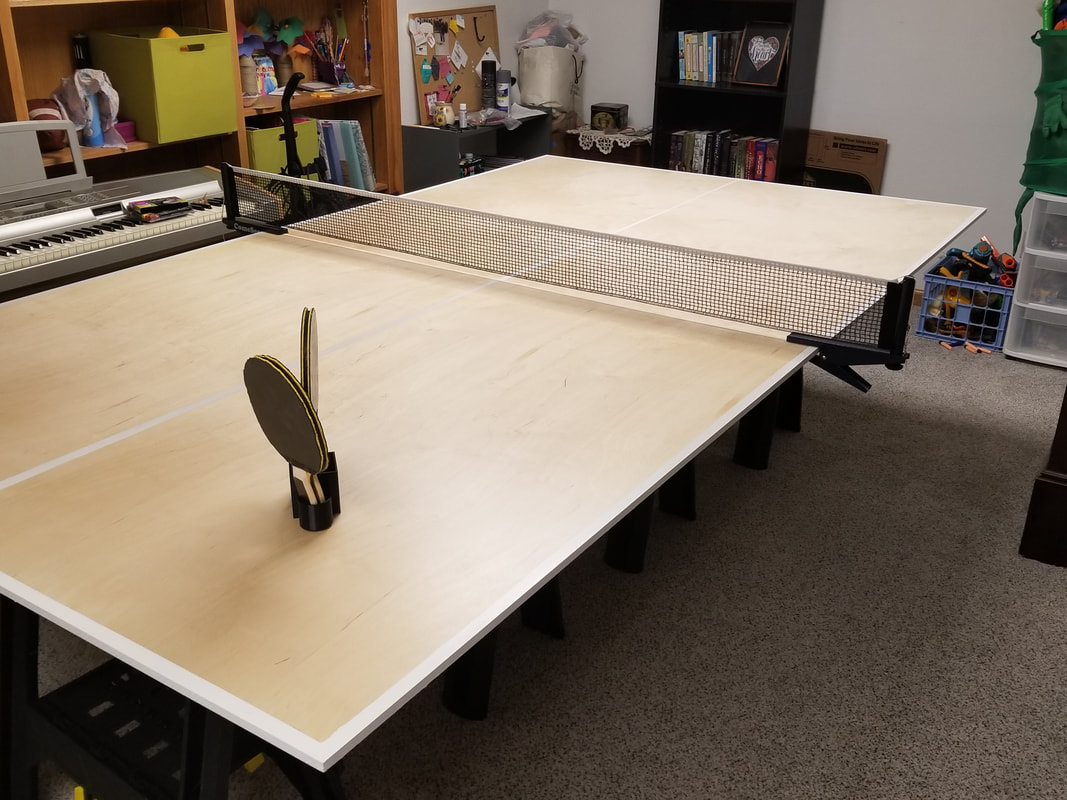
Ping pong paddles used what's called rubber to help hit the ball. I used what's called inverse rubber. I got it off amazon. I didn't use wood glue to put them together I used rubber cement. I put the cement on the rubber and on the paddle, I then let it dry and stuck the two together. I then cut off the excess rubber I had to form the paddle shape and I am done with the paddles. they also fit well into the paddle holder too.
|

|
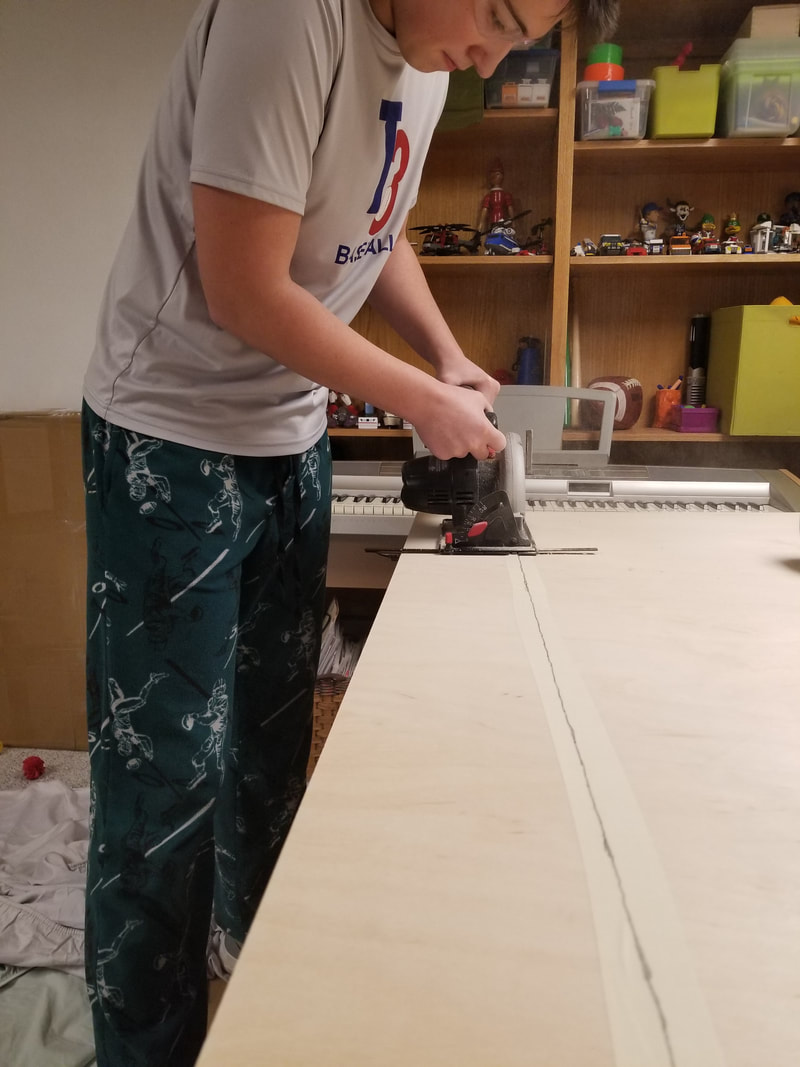
Ping Pong Table
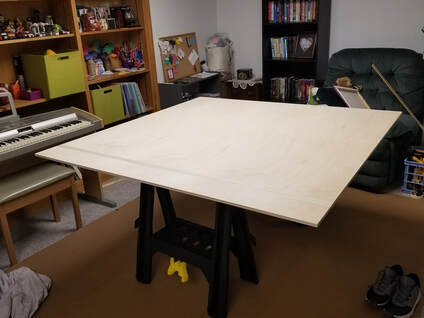
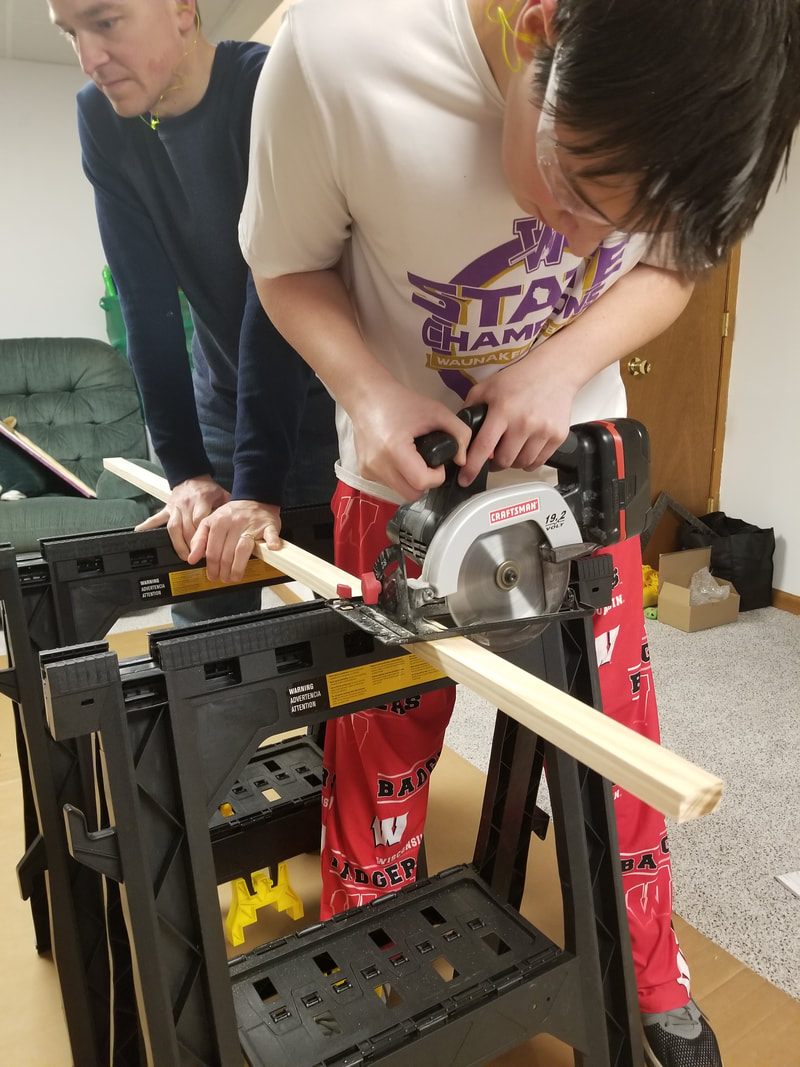
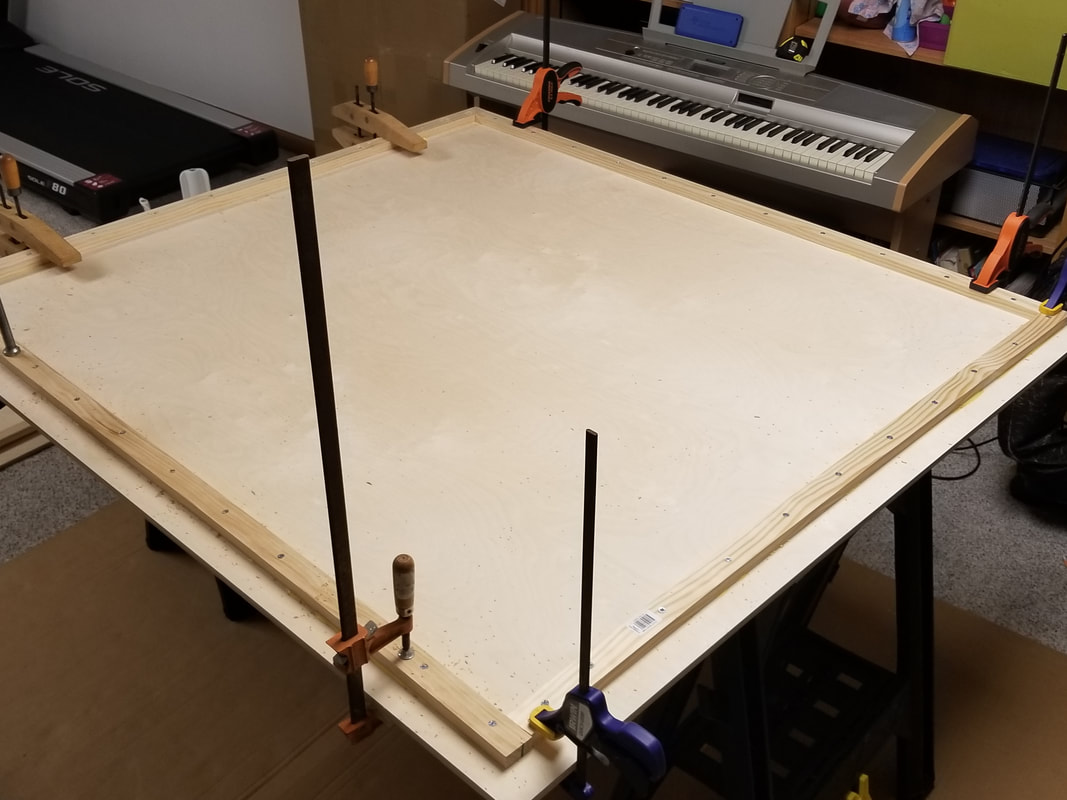
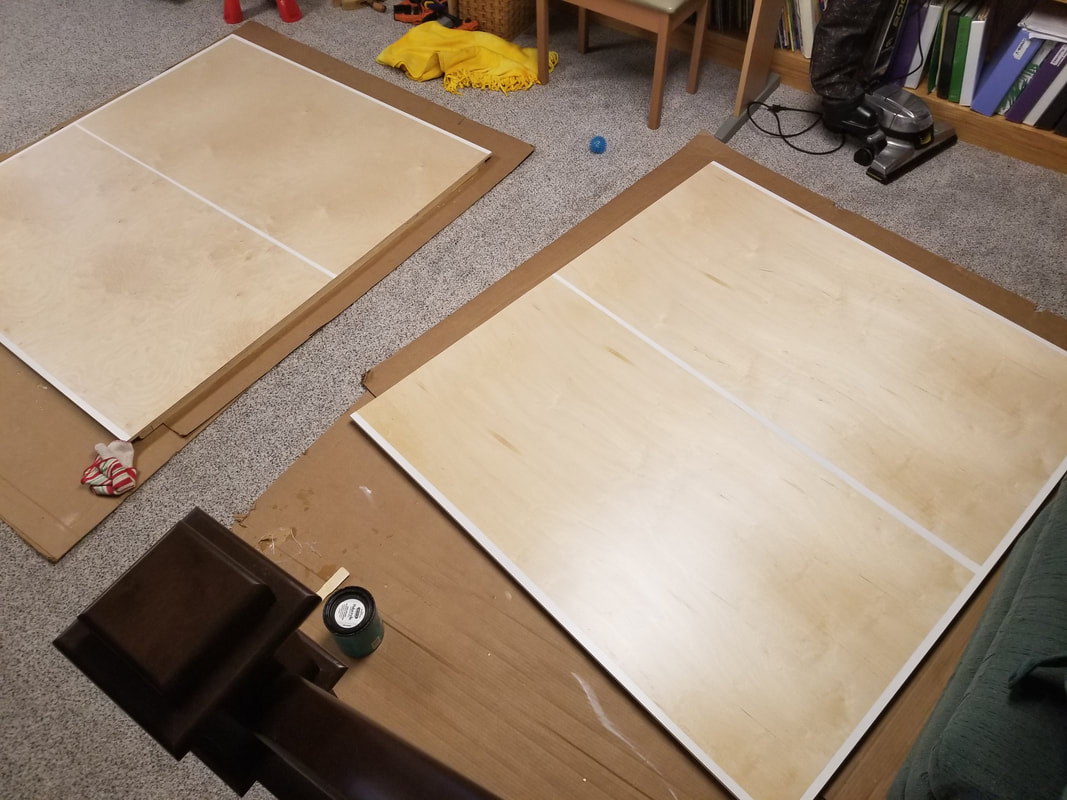
For the table two used 1/2in Baltic birch plywood sheets. They come in 5ft by 5ft sheets and a ping pong table is 5ft by 9ft, so 4by8 plywood wouldn't work. So the first step is cutting 6in off of each board to get it to the length I need.
|
|
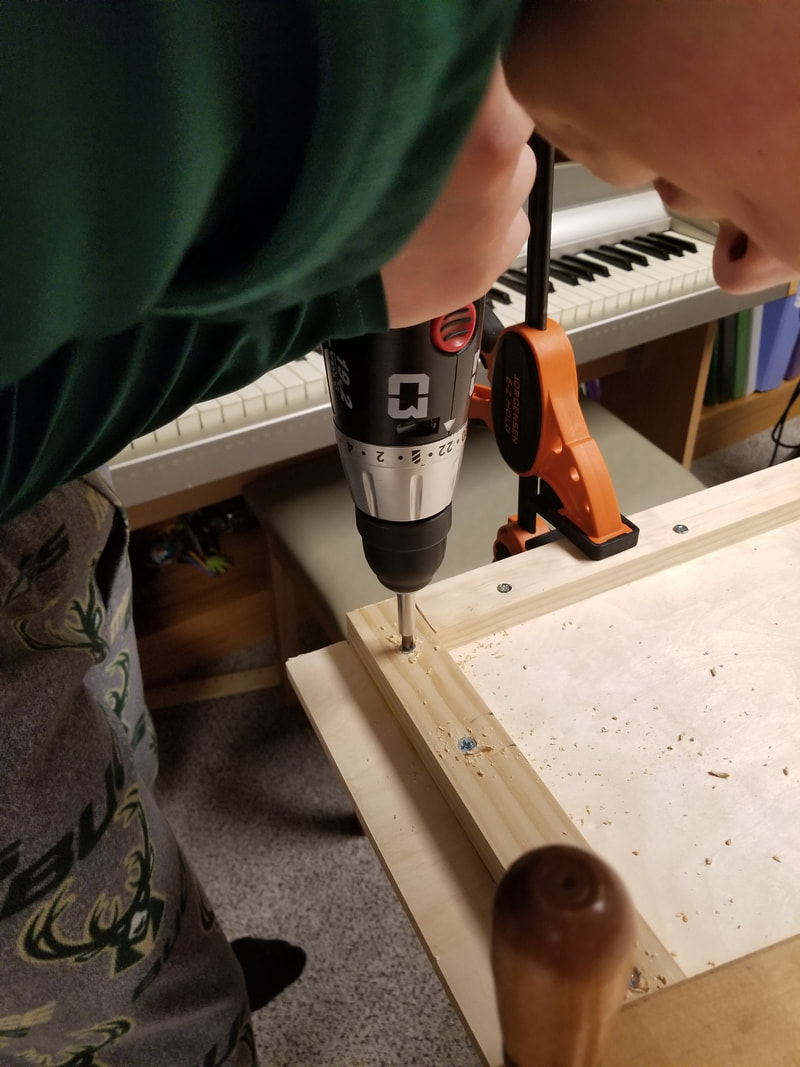
After I had the table cut I then put supports on the bottoms to help with cupping and to keep the table from touching the wall when not in use. I used 2by4 for this and left a 1 1/2in apron around the sides except for the sides that were going to be touching I put those up against the edge. I wood glued them down then used a counter sink bit to pre drill holes and then used 1in screws to screw them down. The screws were put 5in apart from each other.
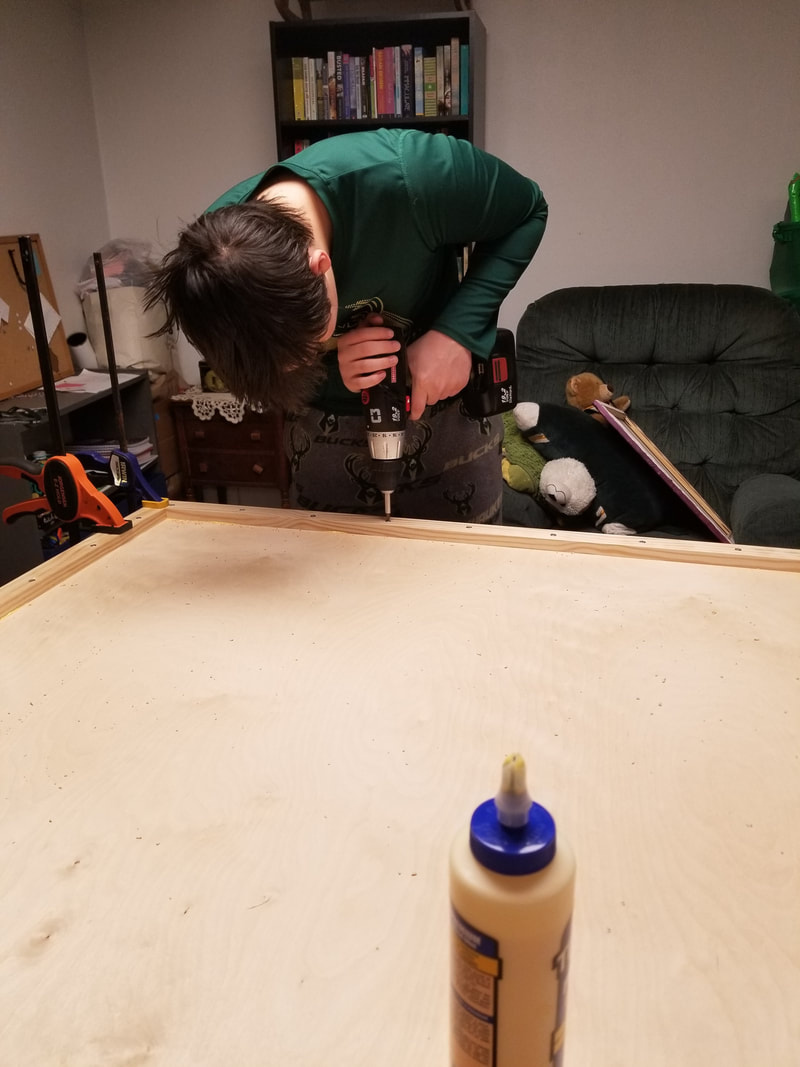
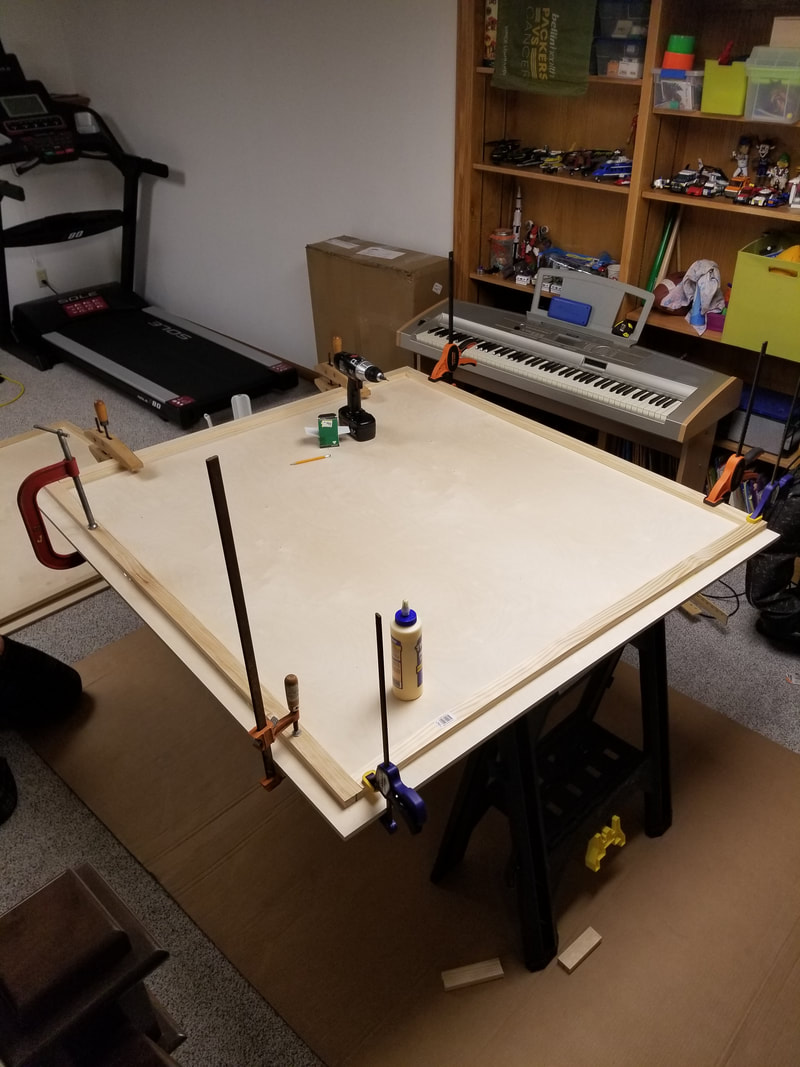
|
|
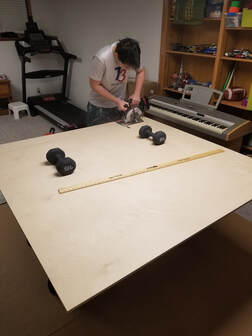
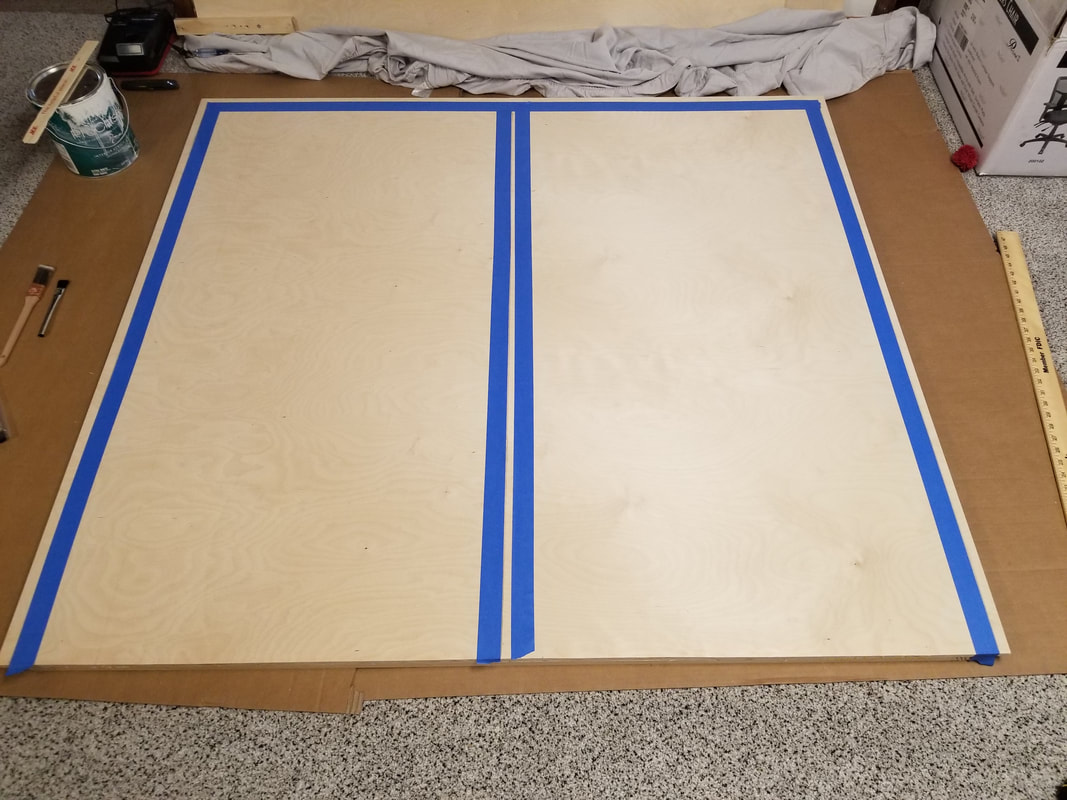
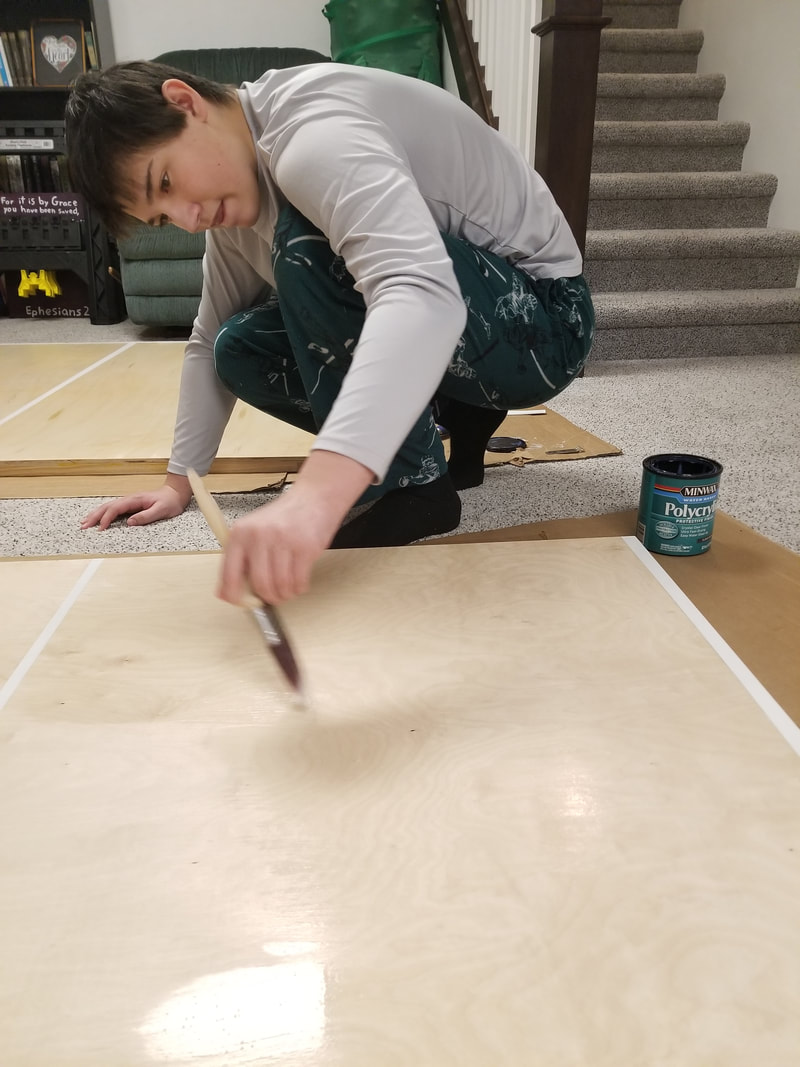
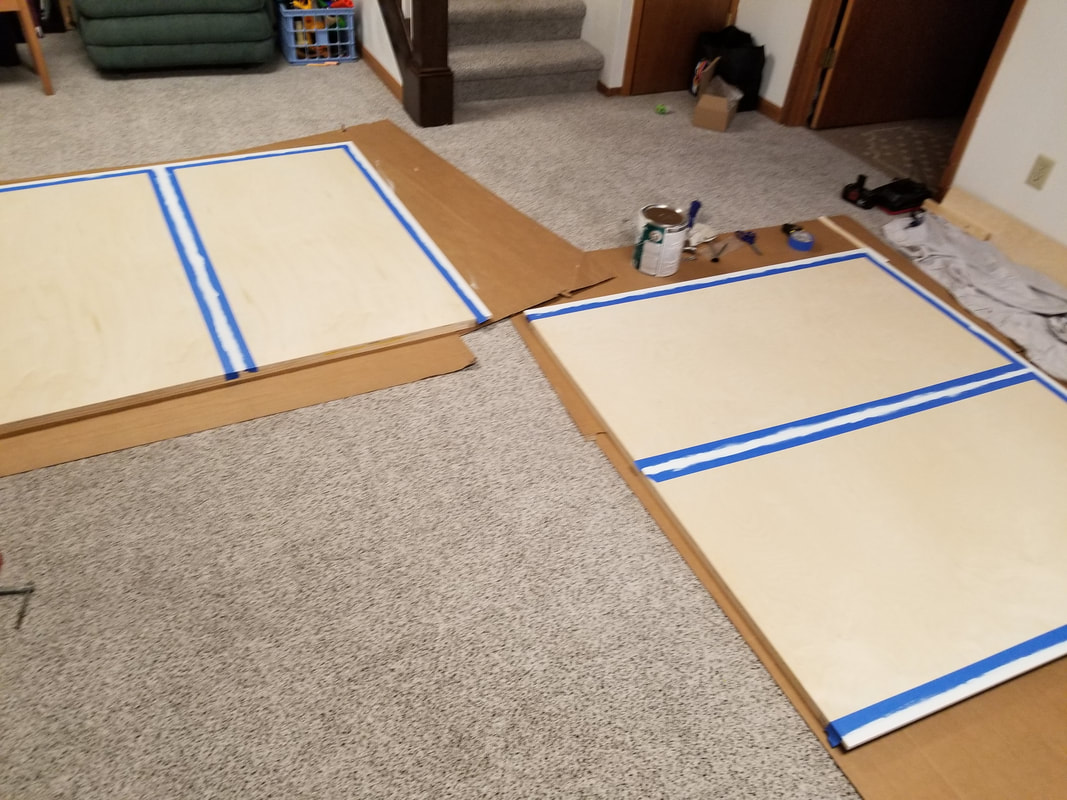
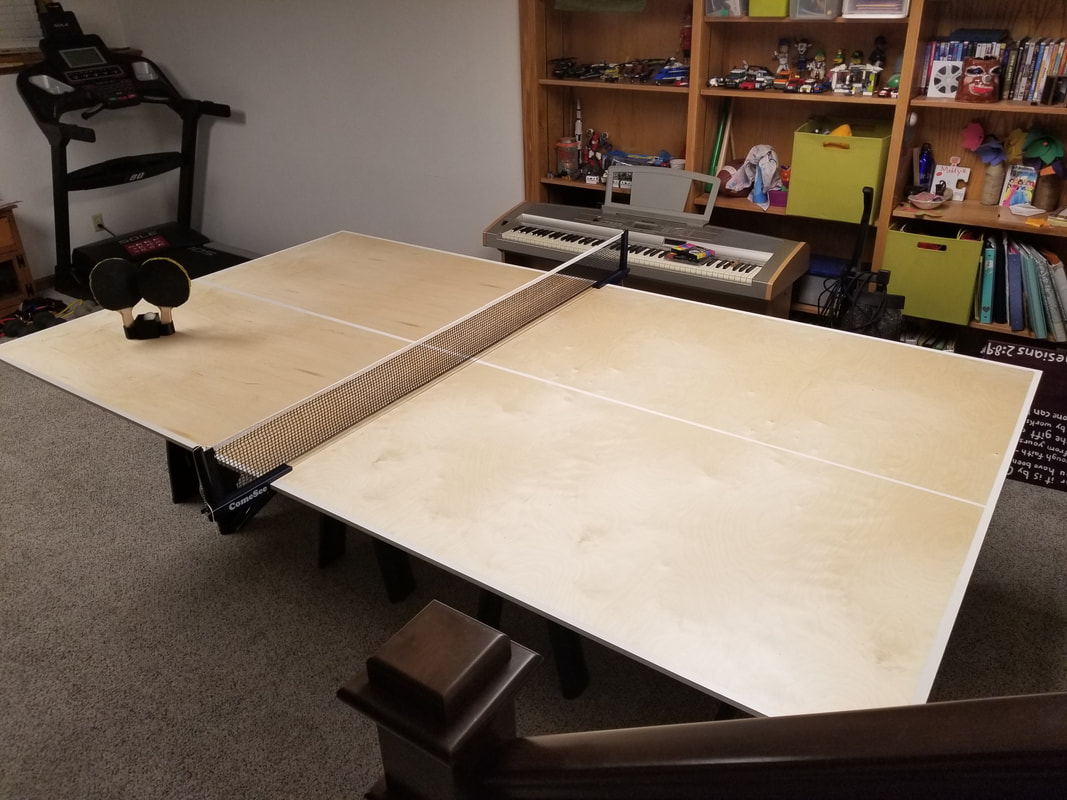
After I got the supports done it was time to paint it. First thing to paint is the white lines. The middle lines are 1/2in and the outer are 3/4in thick. I did 3 coats total. I decided to not paint it green but leave it as it looked and put a finish over it. I used a water based polyacrylic. I did 4 coats total and sanded after each coat. I like how the table turned out, For the legs we are just using saw horses so it be folded away and put against the wall so it doesn't take but so much room in the basement. the net that I have is wide enough to hold the boards together really well and they don't move unless you put your weight on it.

|
|
What I learned
|
I learned how to use fusion 360 and the CNC machines. I never got to use them in Idea, and glad I got to try them out now. I also never have done wood working before, so this was my first time using a saw for the table. It was scary at first but after the first cut I was able to calm down and it actually turned out to be fun. It was cool to get to use a skill saw and learn how it works. I also was able to learn about counter sink bits and that they can help to not split the wood and help make sure the screws head in flat and not sticking out of the wood.
I also learned a lot about ping pong, I didn't know how big the table was and how high it normally is. But the biggest part was about all the types rubber that ping pong paddles have, you have some with sponge and some with put you can get inverted or not, and many more. |
|
